When it comes to a company’s results and sales, its data naturally becomes a formidable resource for analysis, comparison and strategic decision-making. But data analysis can be more complex than it seems. That’s why Shopify has created the Shopify Analytics Dashboard, to make it easier and more accessible to analyze your data. Let’s take a look at how it works.

Today, companies use and exploit their data to understand their position in the market and then make strategic decisions. The aim is to increase revenues and sales.
To facilitate data analysis and interpretation, various dashboards are available, including those for the Shopify e-commerce CMS. But how do you create a Shopify e-commerce dash board? How do you set it up?
This article explains how the Shopify analytics dashboard works, how to access it and how to customize it.
Shopify: what is it?
To put things into context, here’s a brief explanation of how Shopify works. Shopify is the world’s leading platform for creating e-commerce websites.
It targets salespeople in small and medium-sized companies. Its primary aim is to enable the sale of products via different distribution channels (offline or online). Shopify hosts e-commerce companies and supports them in developing their business. A wide range of features, packages and rates are available, to suit all profiles and objectives.
How do I create a website on Shopify?
- Create a Shopify account
Click on “Start”, fill in your details and then click on “Create your store”.
- Choose your theme
There are over 150 different themes to choose from, some free and some paid. The paid or premium themes have more options than the free ones, and are therefore more customizable.
Click on “Add Theme” for free themes or “Buy Theme” for paid themes.
- Add pages to Shopify
It’s also possible on Shopify to add new content pages such as “About us”, “Contact”, “FAQ” and so on.
Pages can also be created. To do so, go to “Sales Channel”, click on “Pages” and then on “Add Page”. It’s up to you to define the title and content of your page.
(If you don’t want to publish your page immediately, there is an option: click on “Hidden Visibility”)
- Import products into your online store
To import your products onto your site, go to “Product” and click on “Add Product”.
To define the product, click on :
- Organization: assigns the product to a “Product Type” category and a “Vendor” brand.
- Visibility: allows the product to be published immediately or at a later date
You can then classify your products into collections, and add photos, descriptions, product data sheets, etc.
- Configure your payment methods and delivery options.
To configure your payment methods, go to “Settings” and click on “Payments Providers”.
- Choosing delivery zones
In the “Settings” section, click on “Shipping”, then add the countries you wish to sell to by clicking on “Add a shipping”.
- Add points of sale
By default, products sold on your website will only be available on your site.
Fortunately, Shopify lets you add other points of sale: in the “Settings” section, click on “Sales Channel” then “Add Sales Channel”.
8. Start selling!
Why create a Shopify Dasboard?
The Shopify Dashboard is a business analysis tool used by companies using the CMS. It is a visual representation of the most relevant data and information on a single screen.
The sales dashboard collects a wealth of information and data from the various pages concerned, then centralizes it and displays it in text or graphic form. The performance of the company concerned is then measured and evaluated with a view to achieving the objectives set.
The Shopify Dashboard is therefore designed to guide businesses in their decision-making and strategic planning.
Users of the shopify dashboard are then offered an overview, enabling them to track their activity in real time.
Benefits of a Shopify dashboard :
The Shopify dashboard business analysis offers its users many advantages, namely:
- Data visualization
- Real-time analytics
- Time-saving
- Cloud-based analytics
- Universal accessibility
Shopify offers several Shopify dashboard templates, all of which can be customized. We’ll go into more detail about the different templates in a moment.
Shopify dashboard: how do I access it?
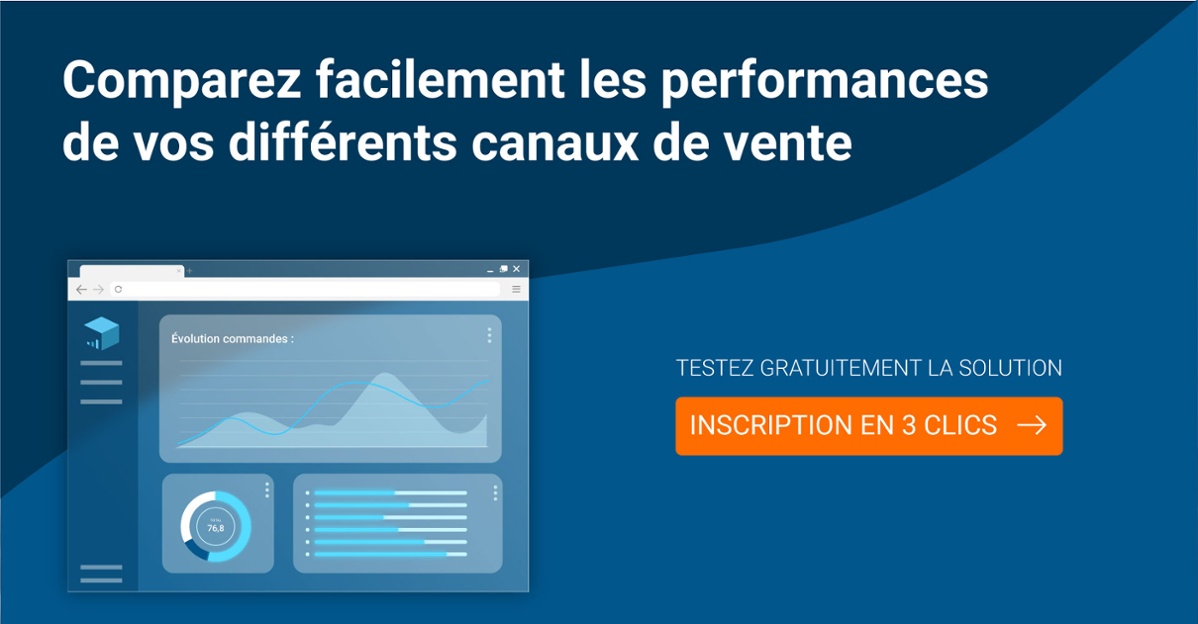
Once your e-commerce site has been created with Shopify, a “Data Analysis” page is available on your Shopify back-office. This page allows you to access the dashboard and get an overview of your business performance in terms of orders, visits and sales.
This will enable you to compare your results across all sales channels and all periods.
- Steps to access your Shopify Dashboard :
- Shopify account login
- Click on “Analytics” then on “Dashboard
- To modify the parameters, click on the “Date” menu and select the desired periods.
- The “Compare with previous dates” button lets you display analytical comparisons for customized periods.
- Click on the “Apply” button
(option: the “View report” link provides more details about an indicator)
- Key Shopify dashboard indicators
The Shopify Analytics dashboard is able to display a variety of data and metrics specific to each company’s activity.
To summarize, here are some of the indicators displayed on the Shopify Dashboard:
- Total orders
(depending on the period)
- Total sales
(taking into account various factors: returns, discounts, shipping costs, taxes)
- Average order value
- E-commerce conversion rates
- Total number of e-commerce sessions
(location, traffic source, device type, etc.)
Shopify Dashboard: how to build and customize it?
Once you’ve created your dashboard, you can choose from a range of templates:
- Shopify dashboard template by Databox
- Shopify dashboard template by Dashthis
- Shopify dashboard template by Klipfolio
- Shopify dashboard template by PenPath
Each model has different features and pricing. It’s up to you to choose the one that best suits your needs.
- Upstream practices
There are certain practices you should adopt to ensure that your Shopify dashboard is as complete and consistent as possible:
- Identifying relevant data
It’s essential to select the most relevant indicators, so that only those of interest to you are displayed on your screen.
- Determine your KPIs
It’s essential for companies to set themselves concrete objectives, so that they can build a coherent thread around them and make business decisions that will stimulate sales and hence growth.
- Optimized screen use
Set up a hierarchy of information in descending order of importance. The most important at the top of the page and the least important at the bottom.
Your screen should also be airy. Give priority to statistics in text form, and leave white space for a better overview.
Finally, please separate your data by department, so that you can better read each other’s data and make better decisions later on.
- Understanding target expectations
The customer plays an essential role in a company’s growth. It is therefore essential to understand consumer needs in order to build a good Shopify dashboard.
Conclusion
In short, the Shopify dashboard sales provides users with an optimized overview of their sales and digital activity. Numerous options are available for comparing data across all sales channels, according to selected periods.
You’ll be able to track market trends and the evolution of your business.
Your company’s strengths and weaknesses will be more readily apparent, enabling you to correct any shortcomings more quickly and boost your sales and revenues.
What’s more, options can also be selected by users to benefit from more in-depth analyses.
To take your data analysis even further, discover Shippingbo Analytics! A brand-new analysis tool that centralizes data from your Shopify store, marketplaces and private sales. Test it for free now: